Set Up
To get started, you will need a custom html template for your job pages (ask a CSM for assistance with this).
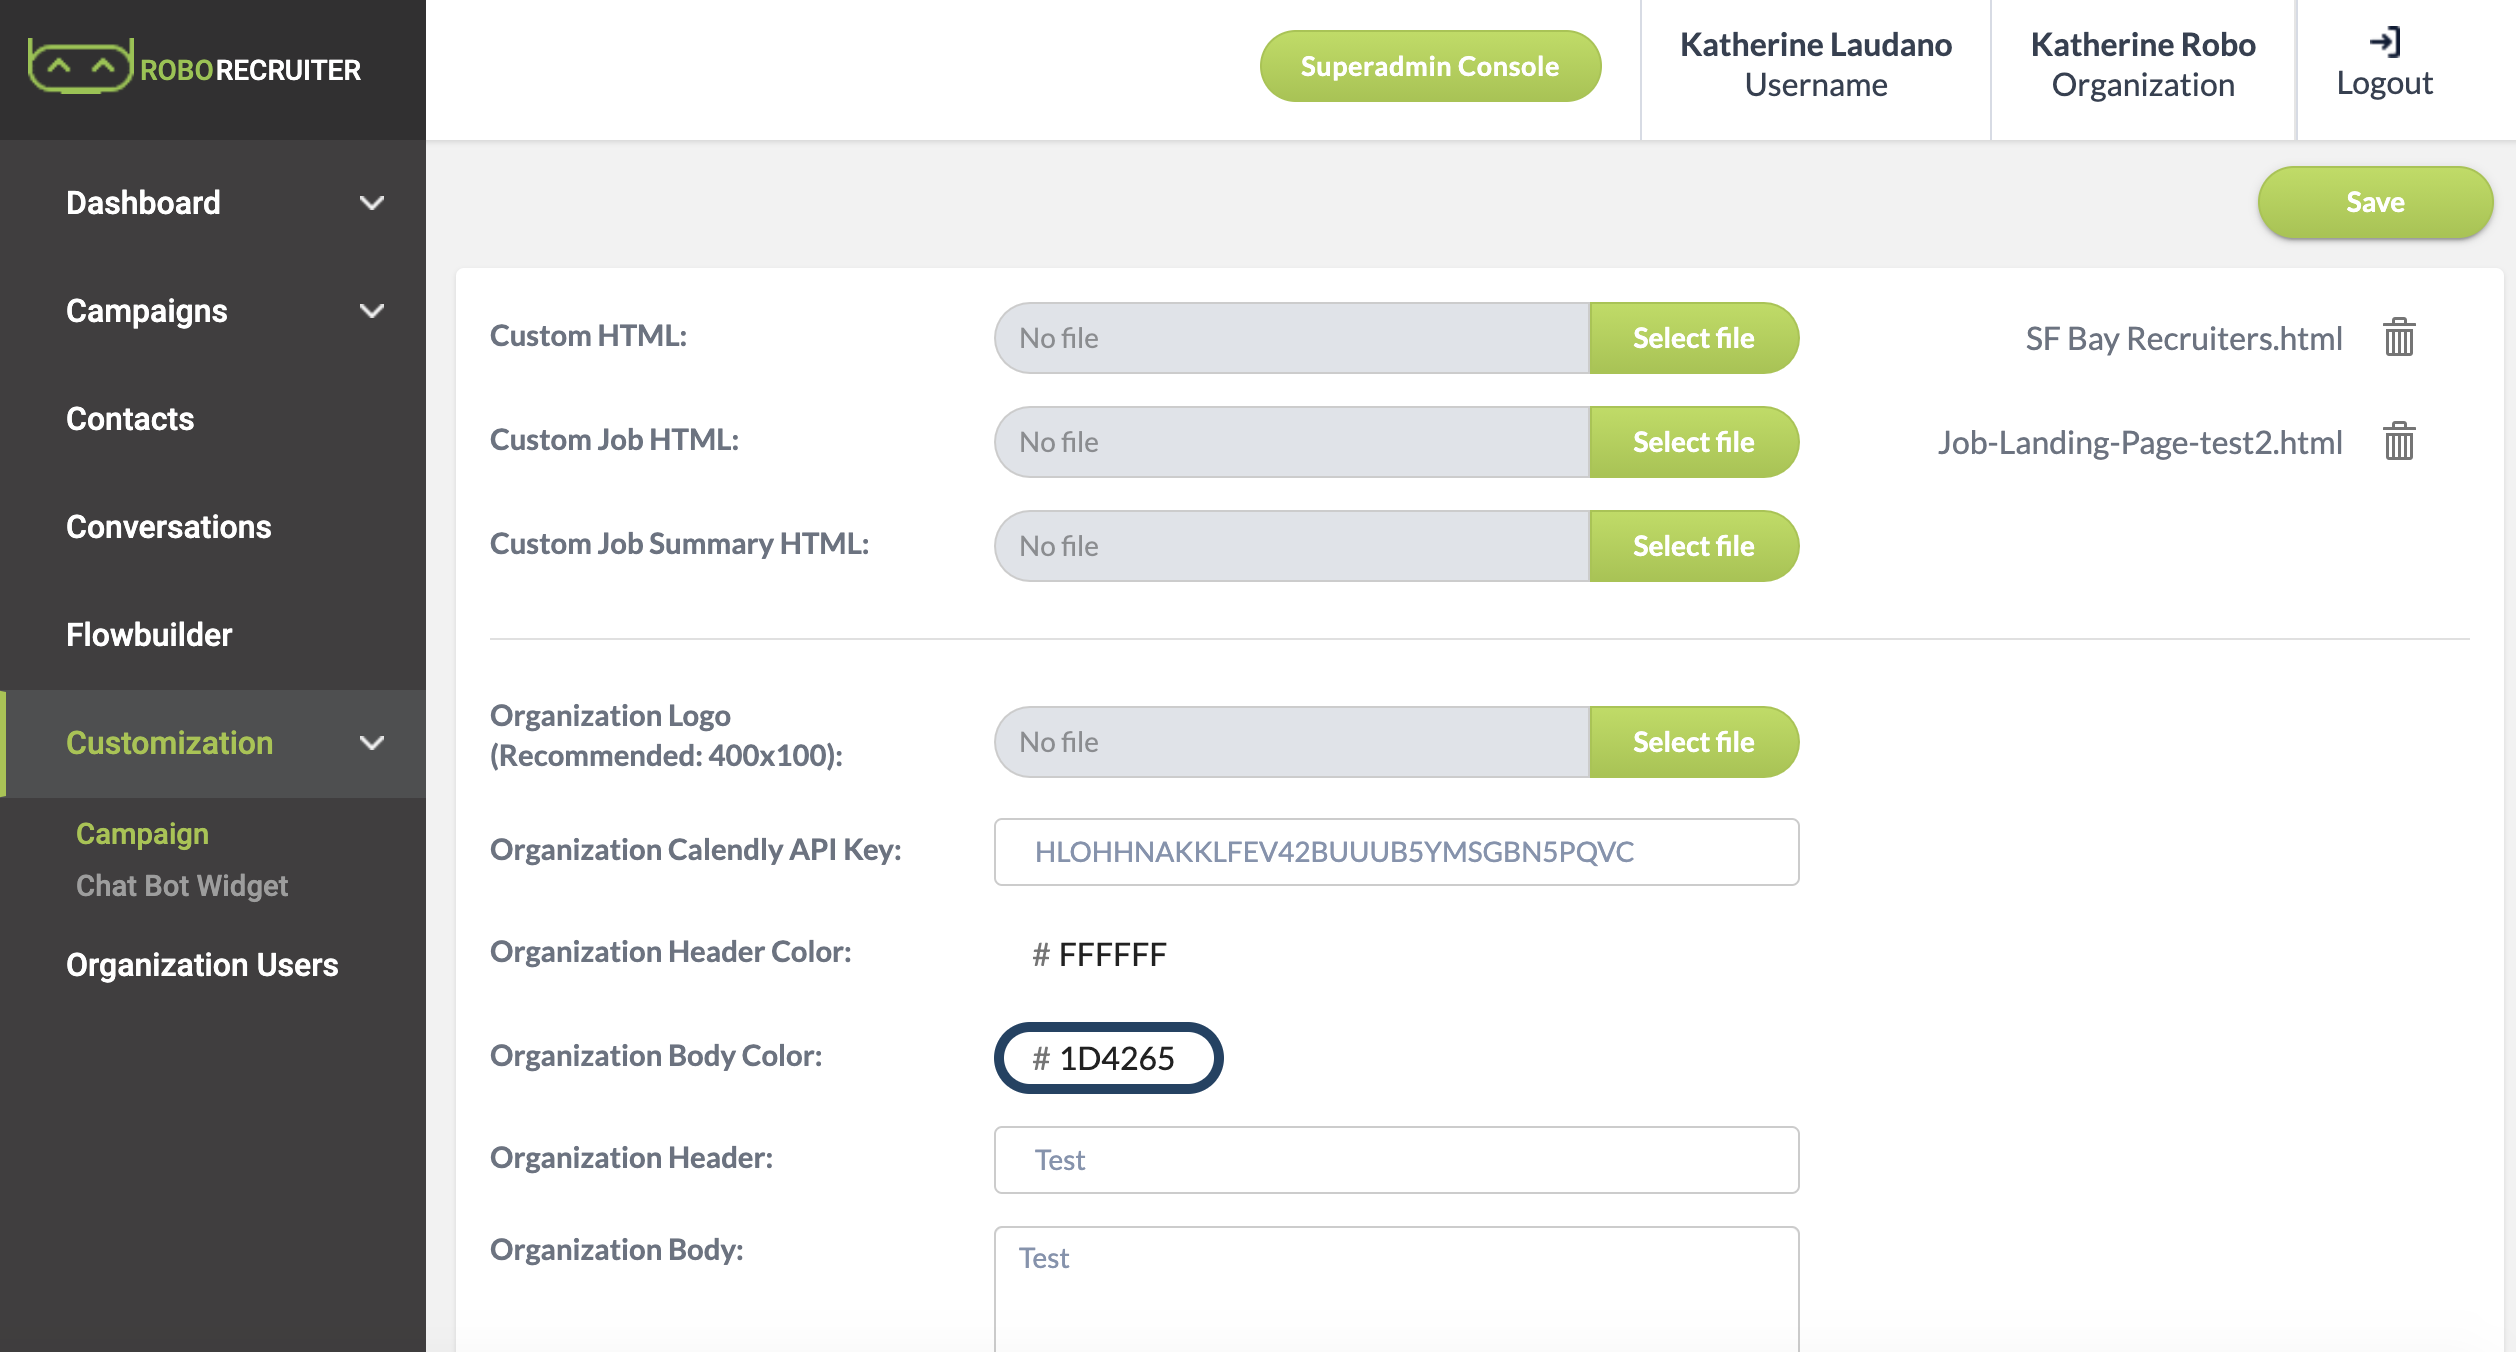
Once the file is ready, add it to the Customization tab under Custom Job HTML.
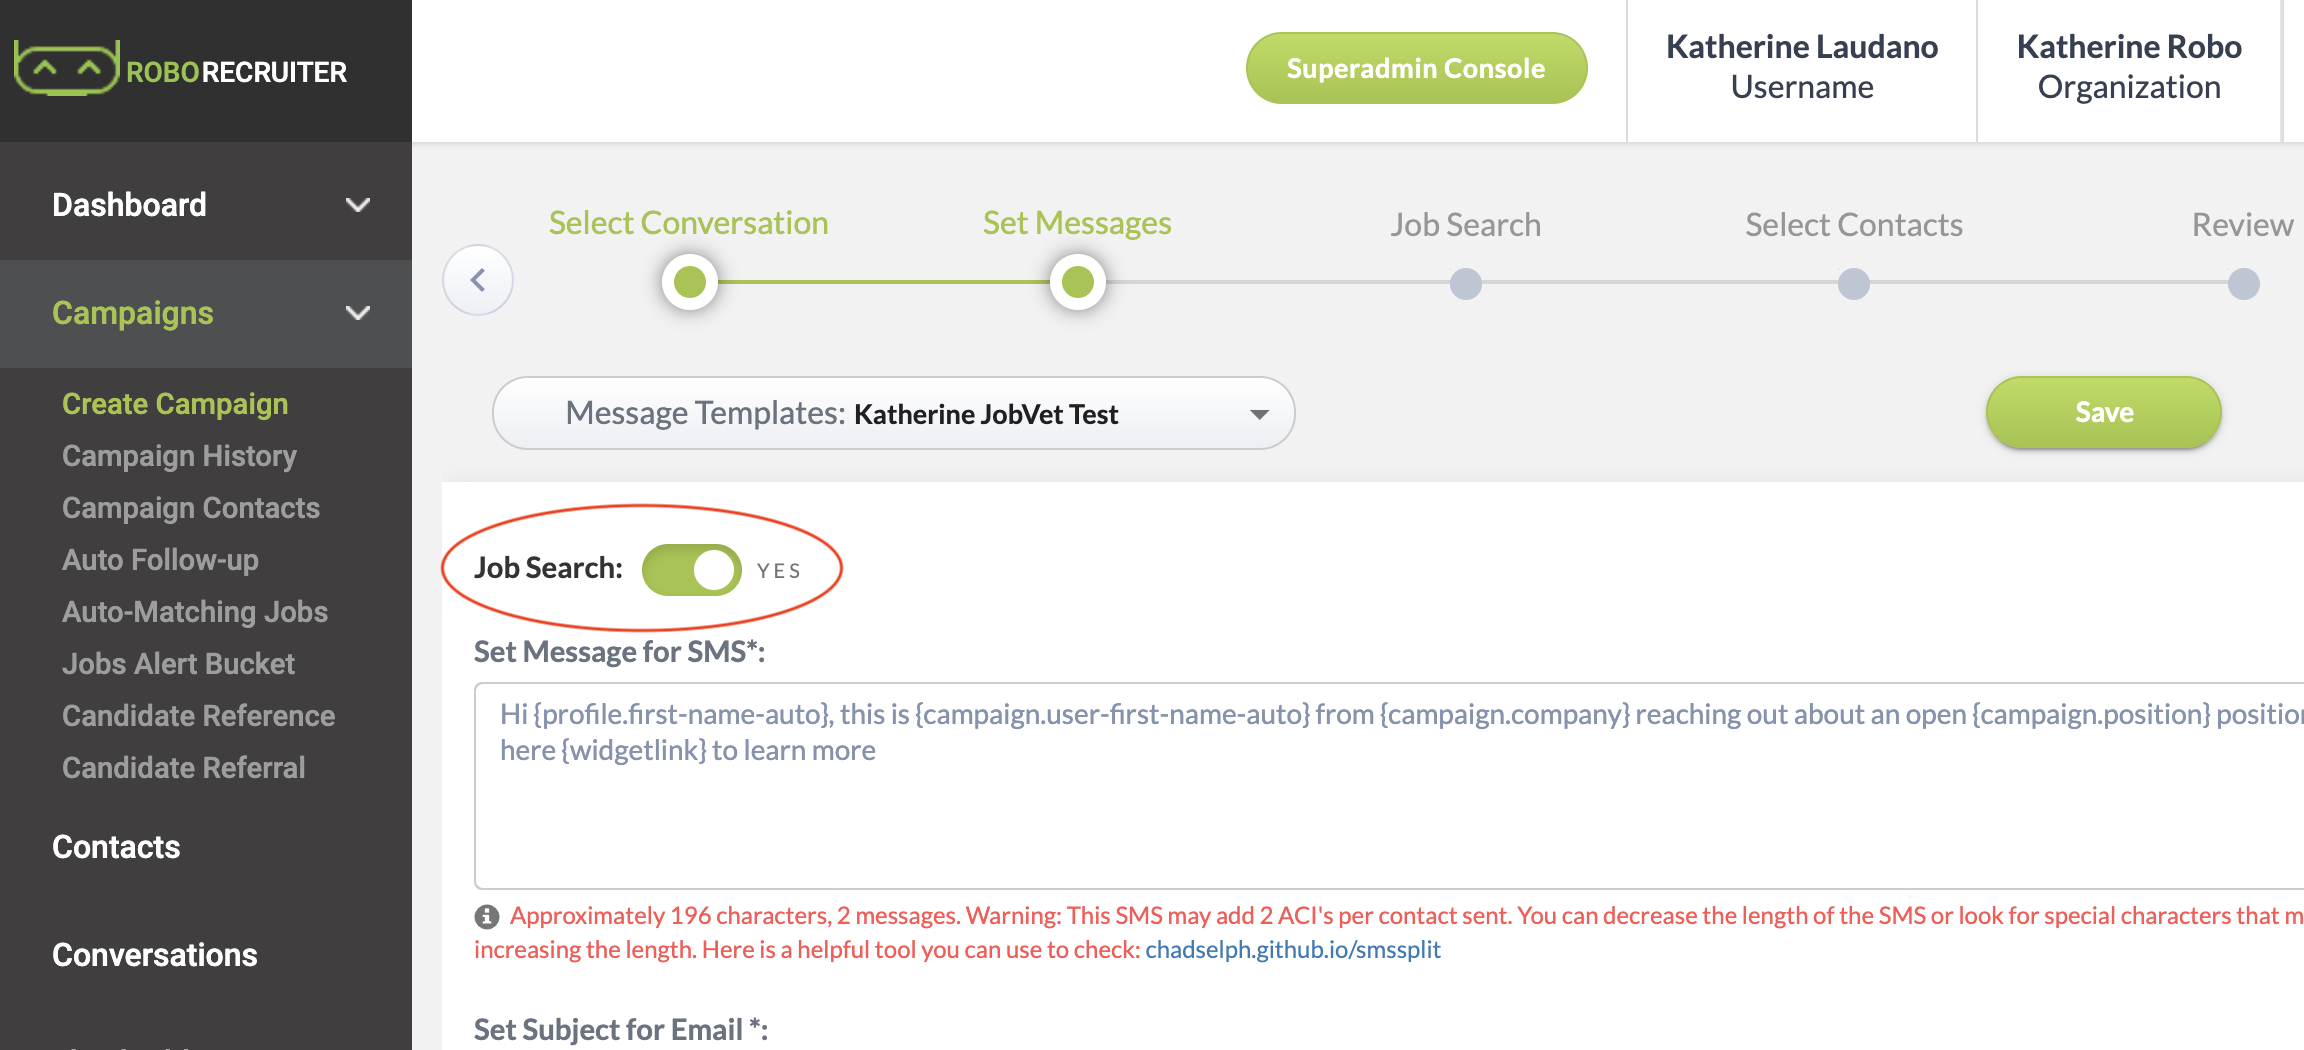
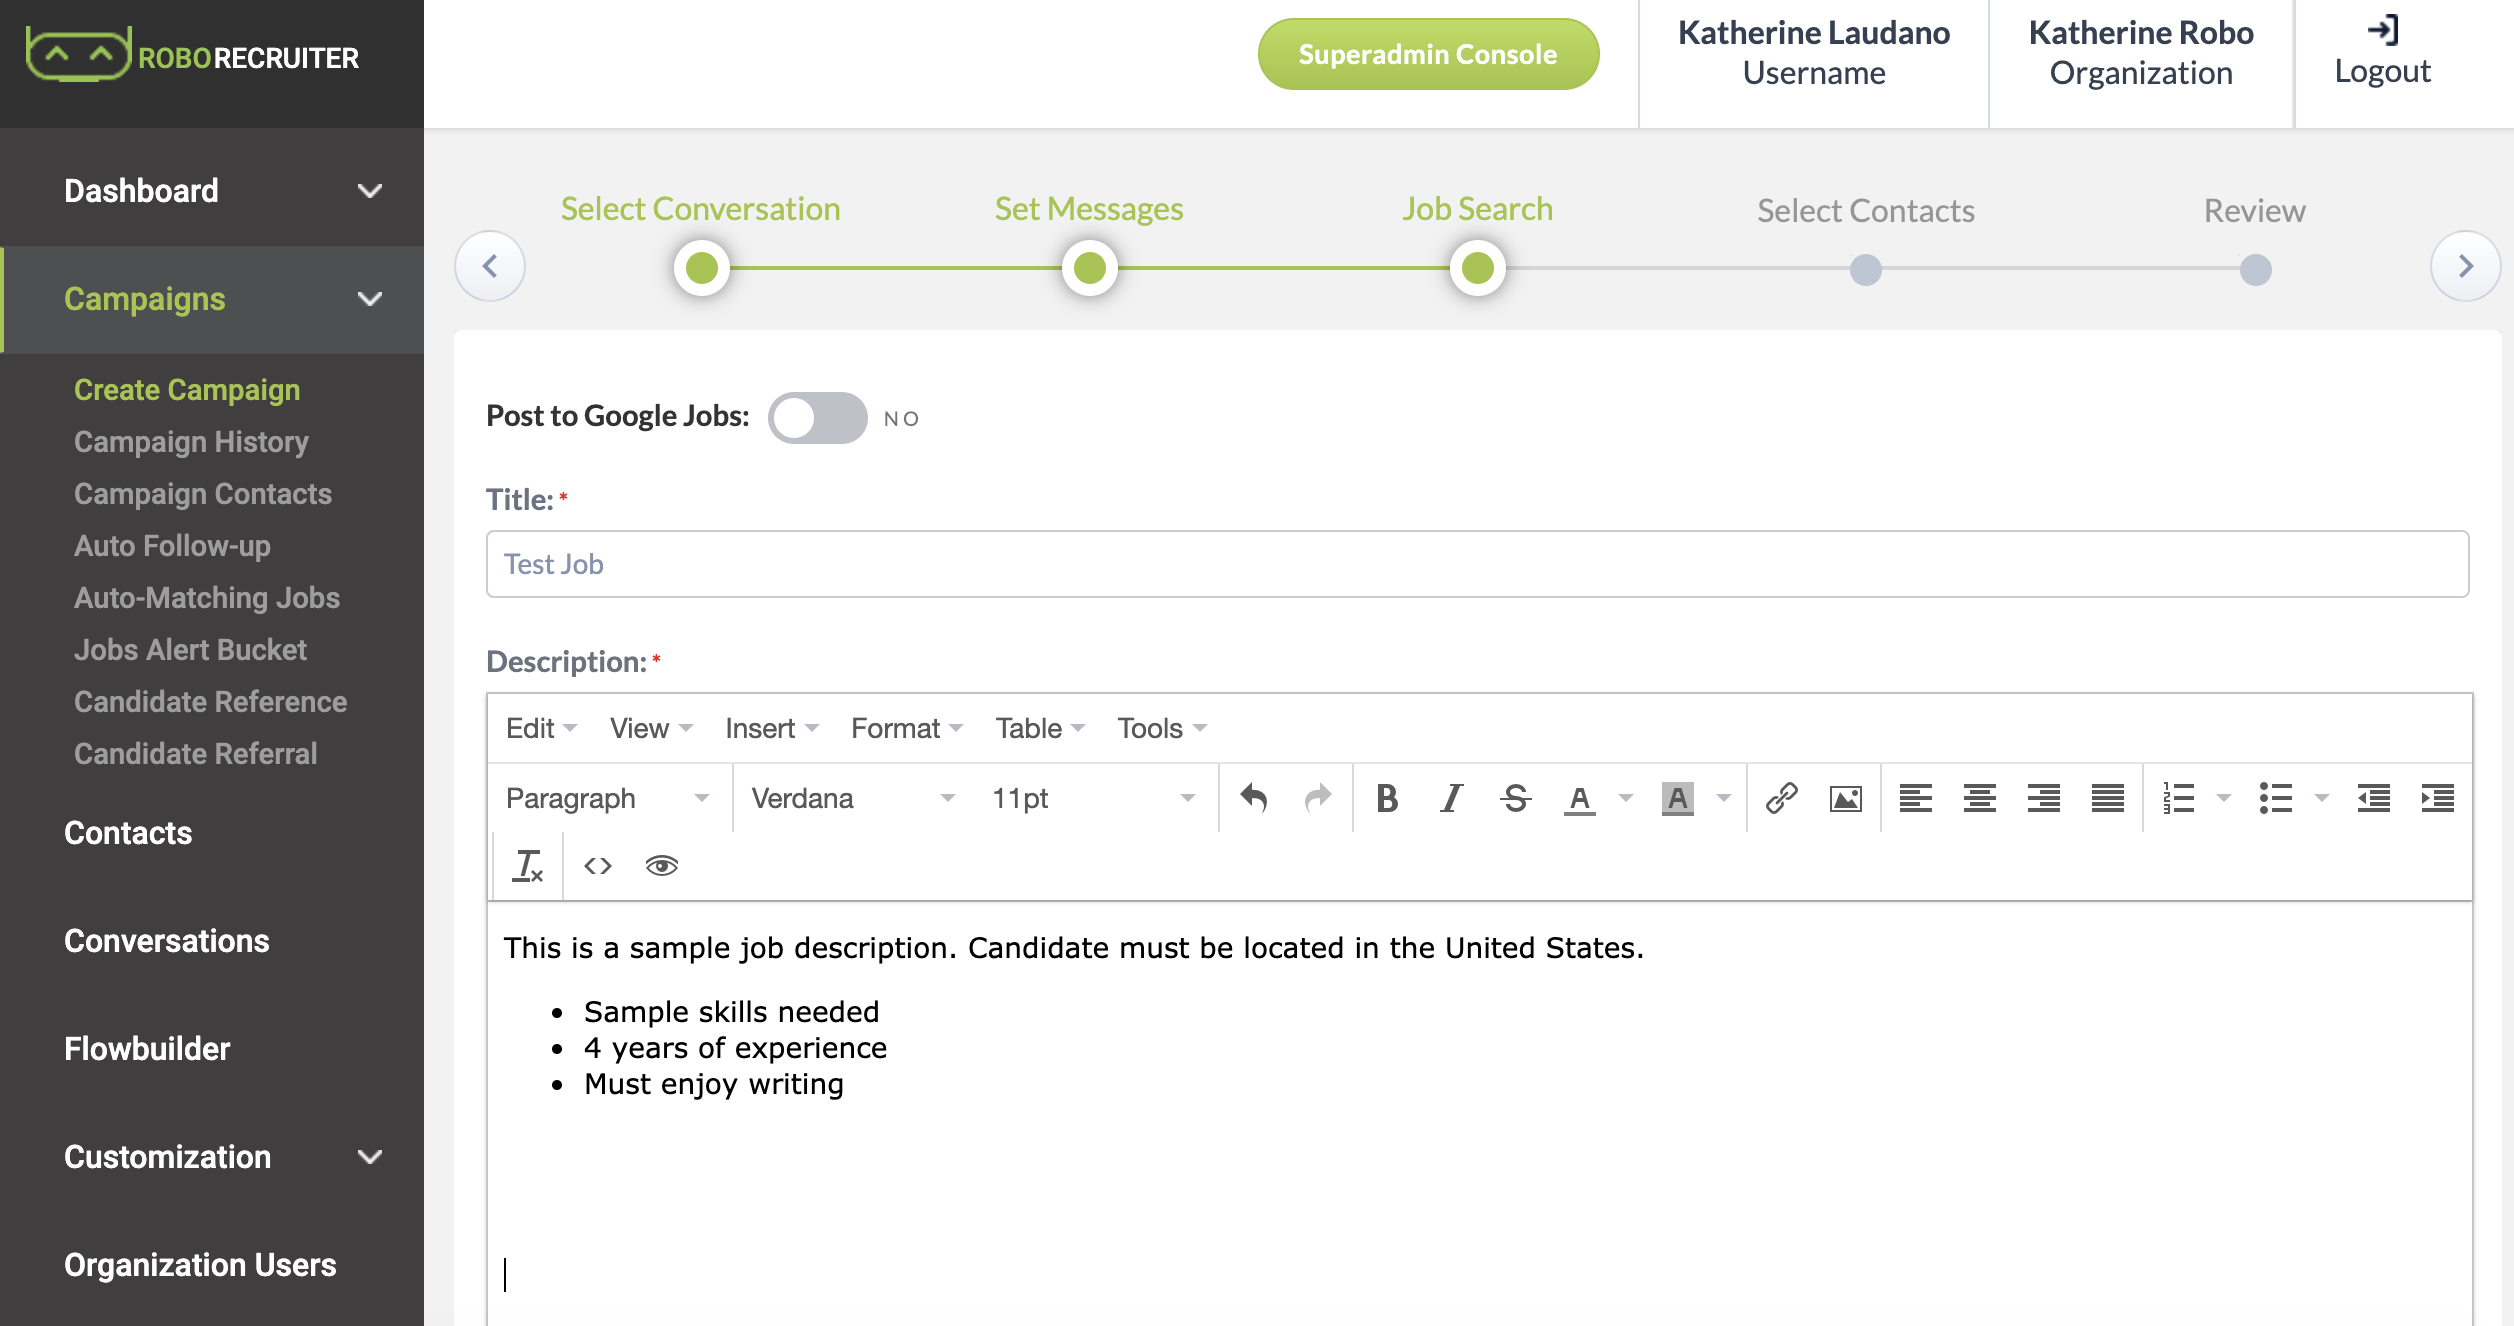
Now you are ready to post your first job! To do this, navigate to the Conversations tab and page through the conversation creator. Within the Messages section, enable Job Search by clicking the button below. Then, the Job Search section will appear.
Now you are ready to enter your job information! Here you can enter the following:
- Title - Job title
- Description - Here you can paste the entire job description and the formatting will copy over as it is shown
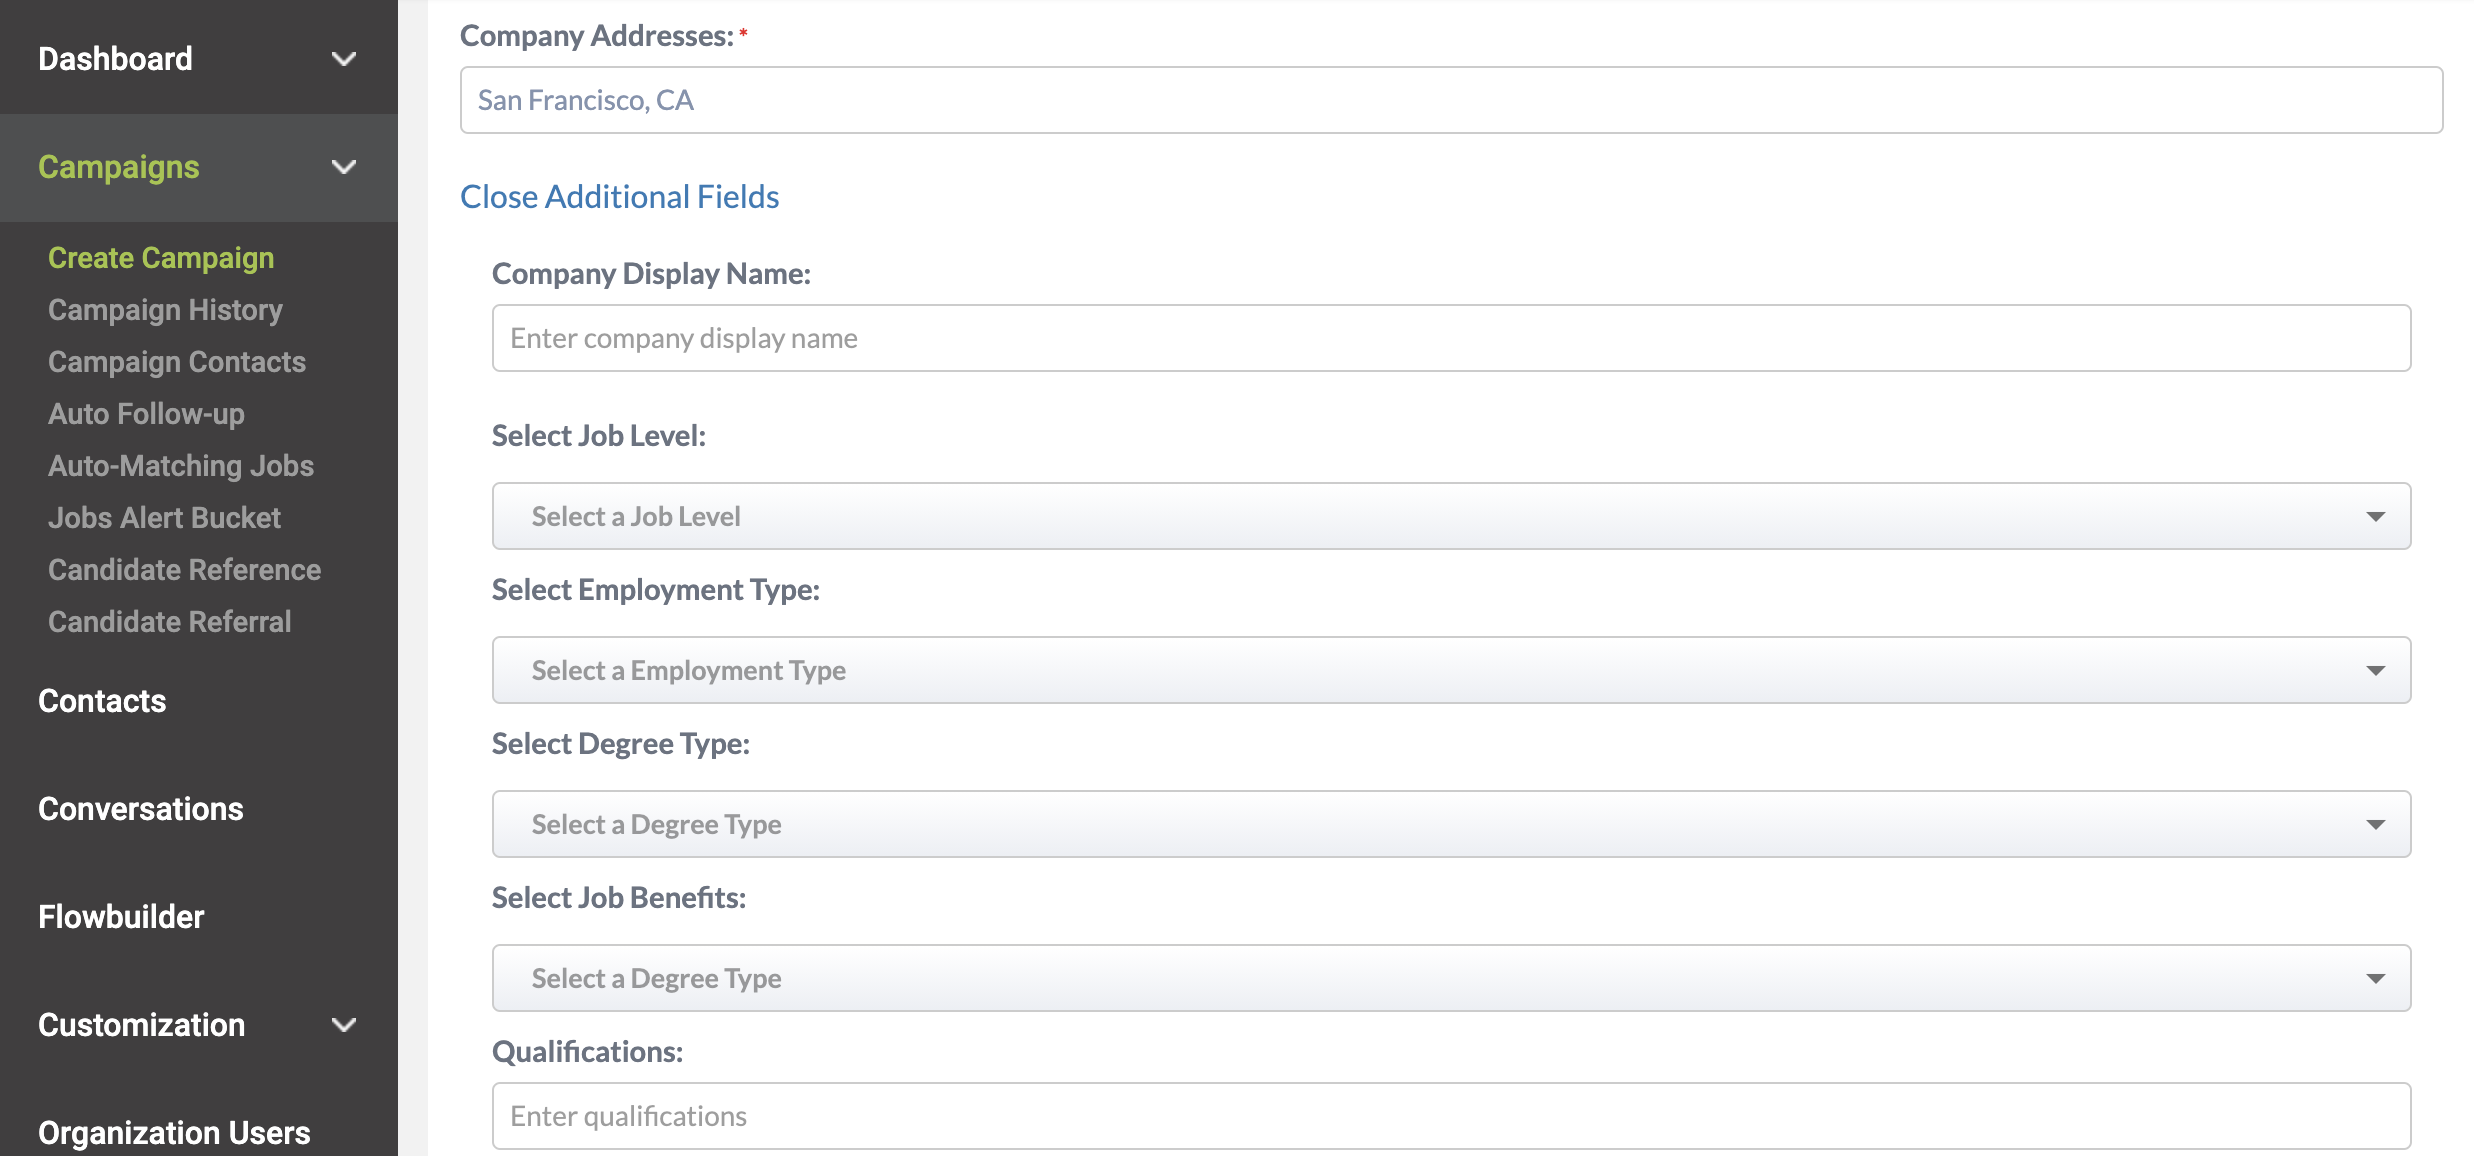
- Company Addresses - This is primarily used for Google Job indexing. Include city, state and zip code if possible
- Post to Google Jobs - If you would like to have your job listed on Google Jobs, enable this here
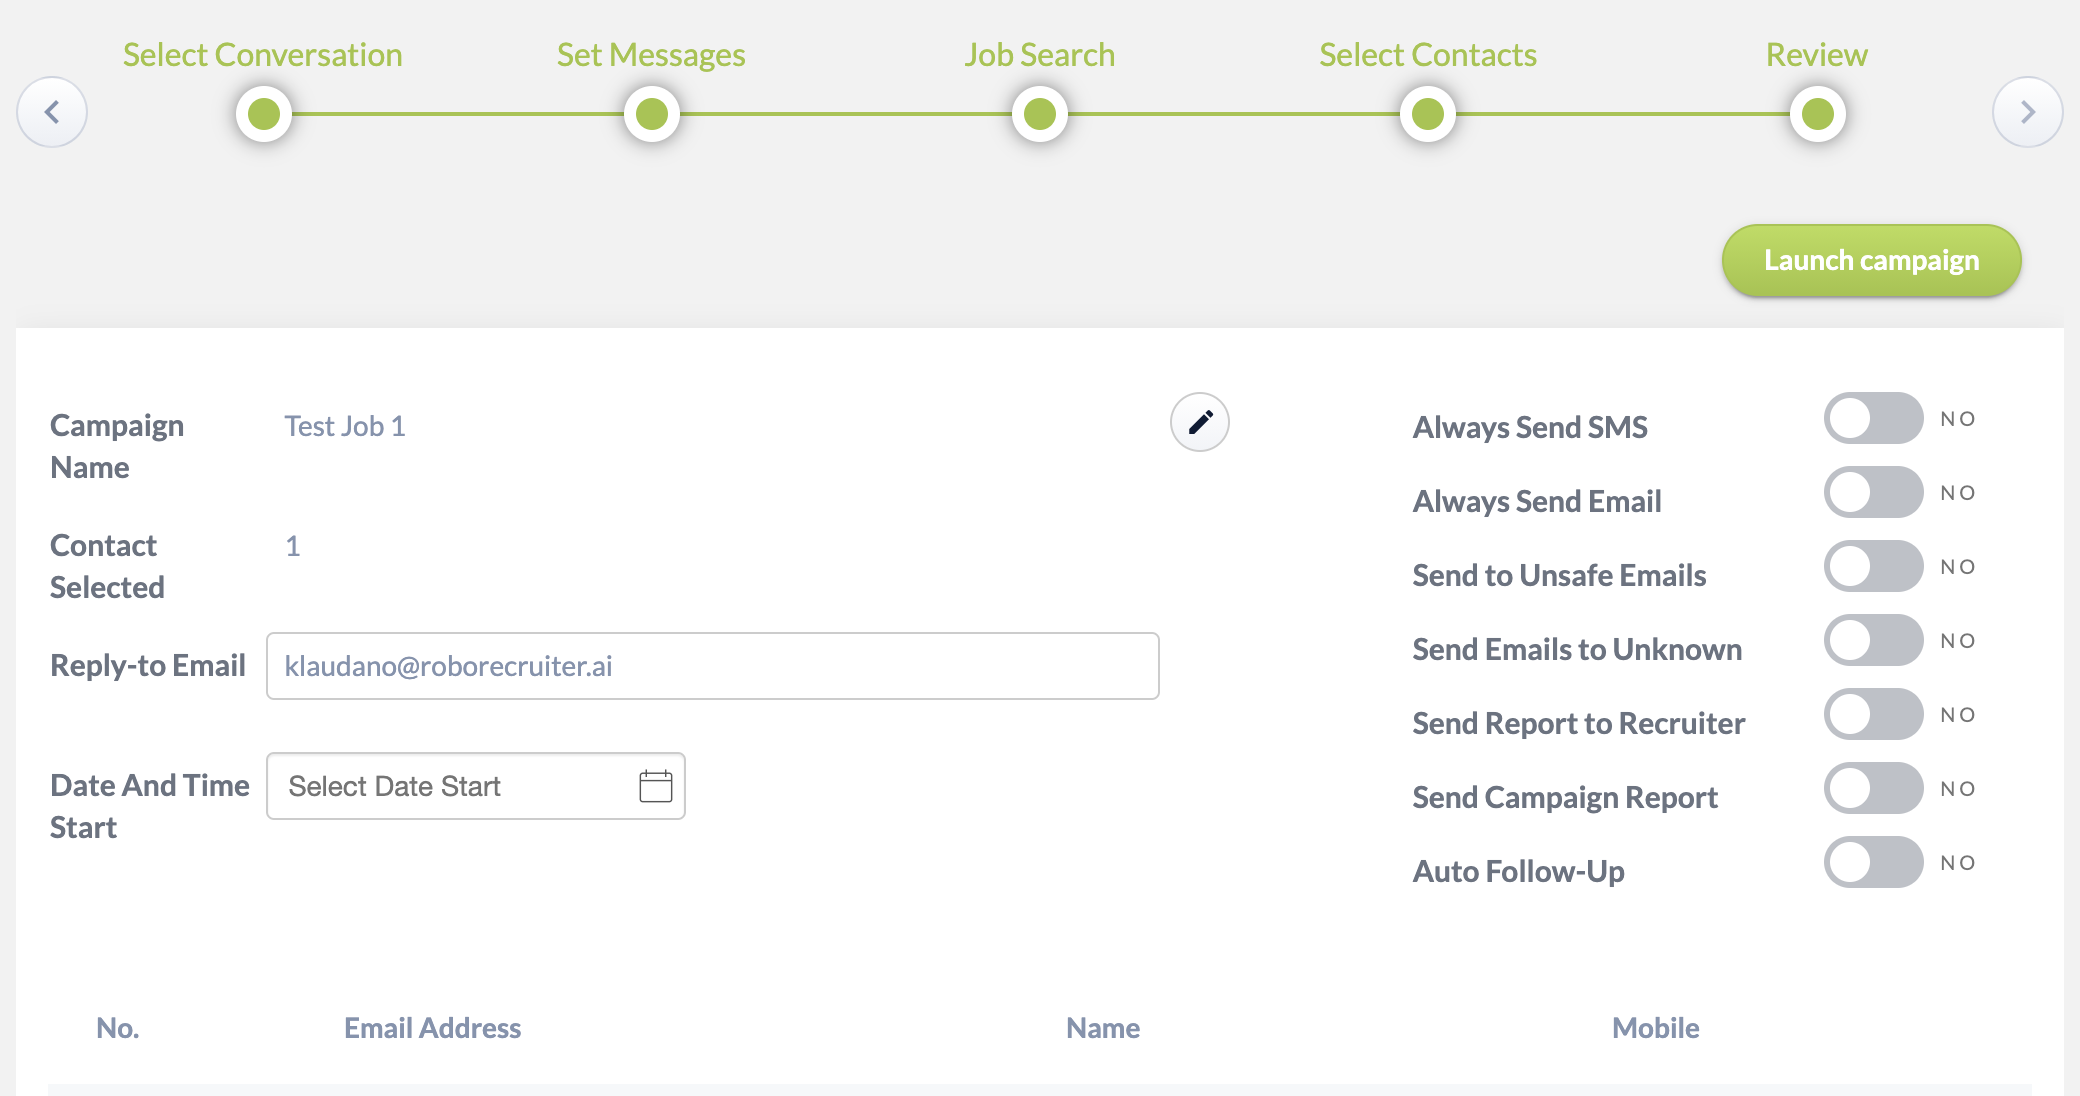
Then, page through the rest of the campaign creation. You may select yourself as a contact, and then disable SMS and Email before launching, giving the campaign the same name as the job (this will be important for search purposes).
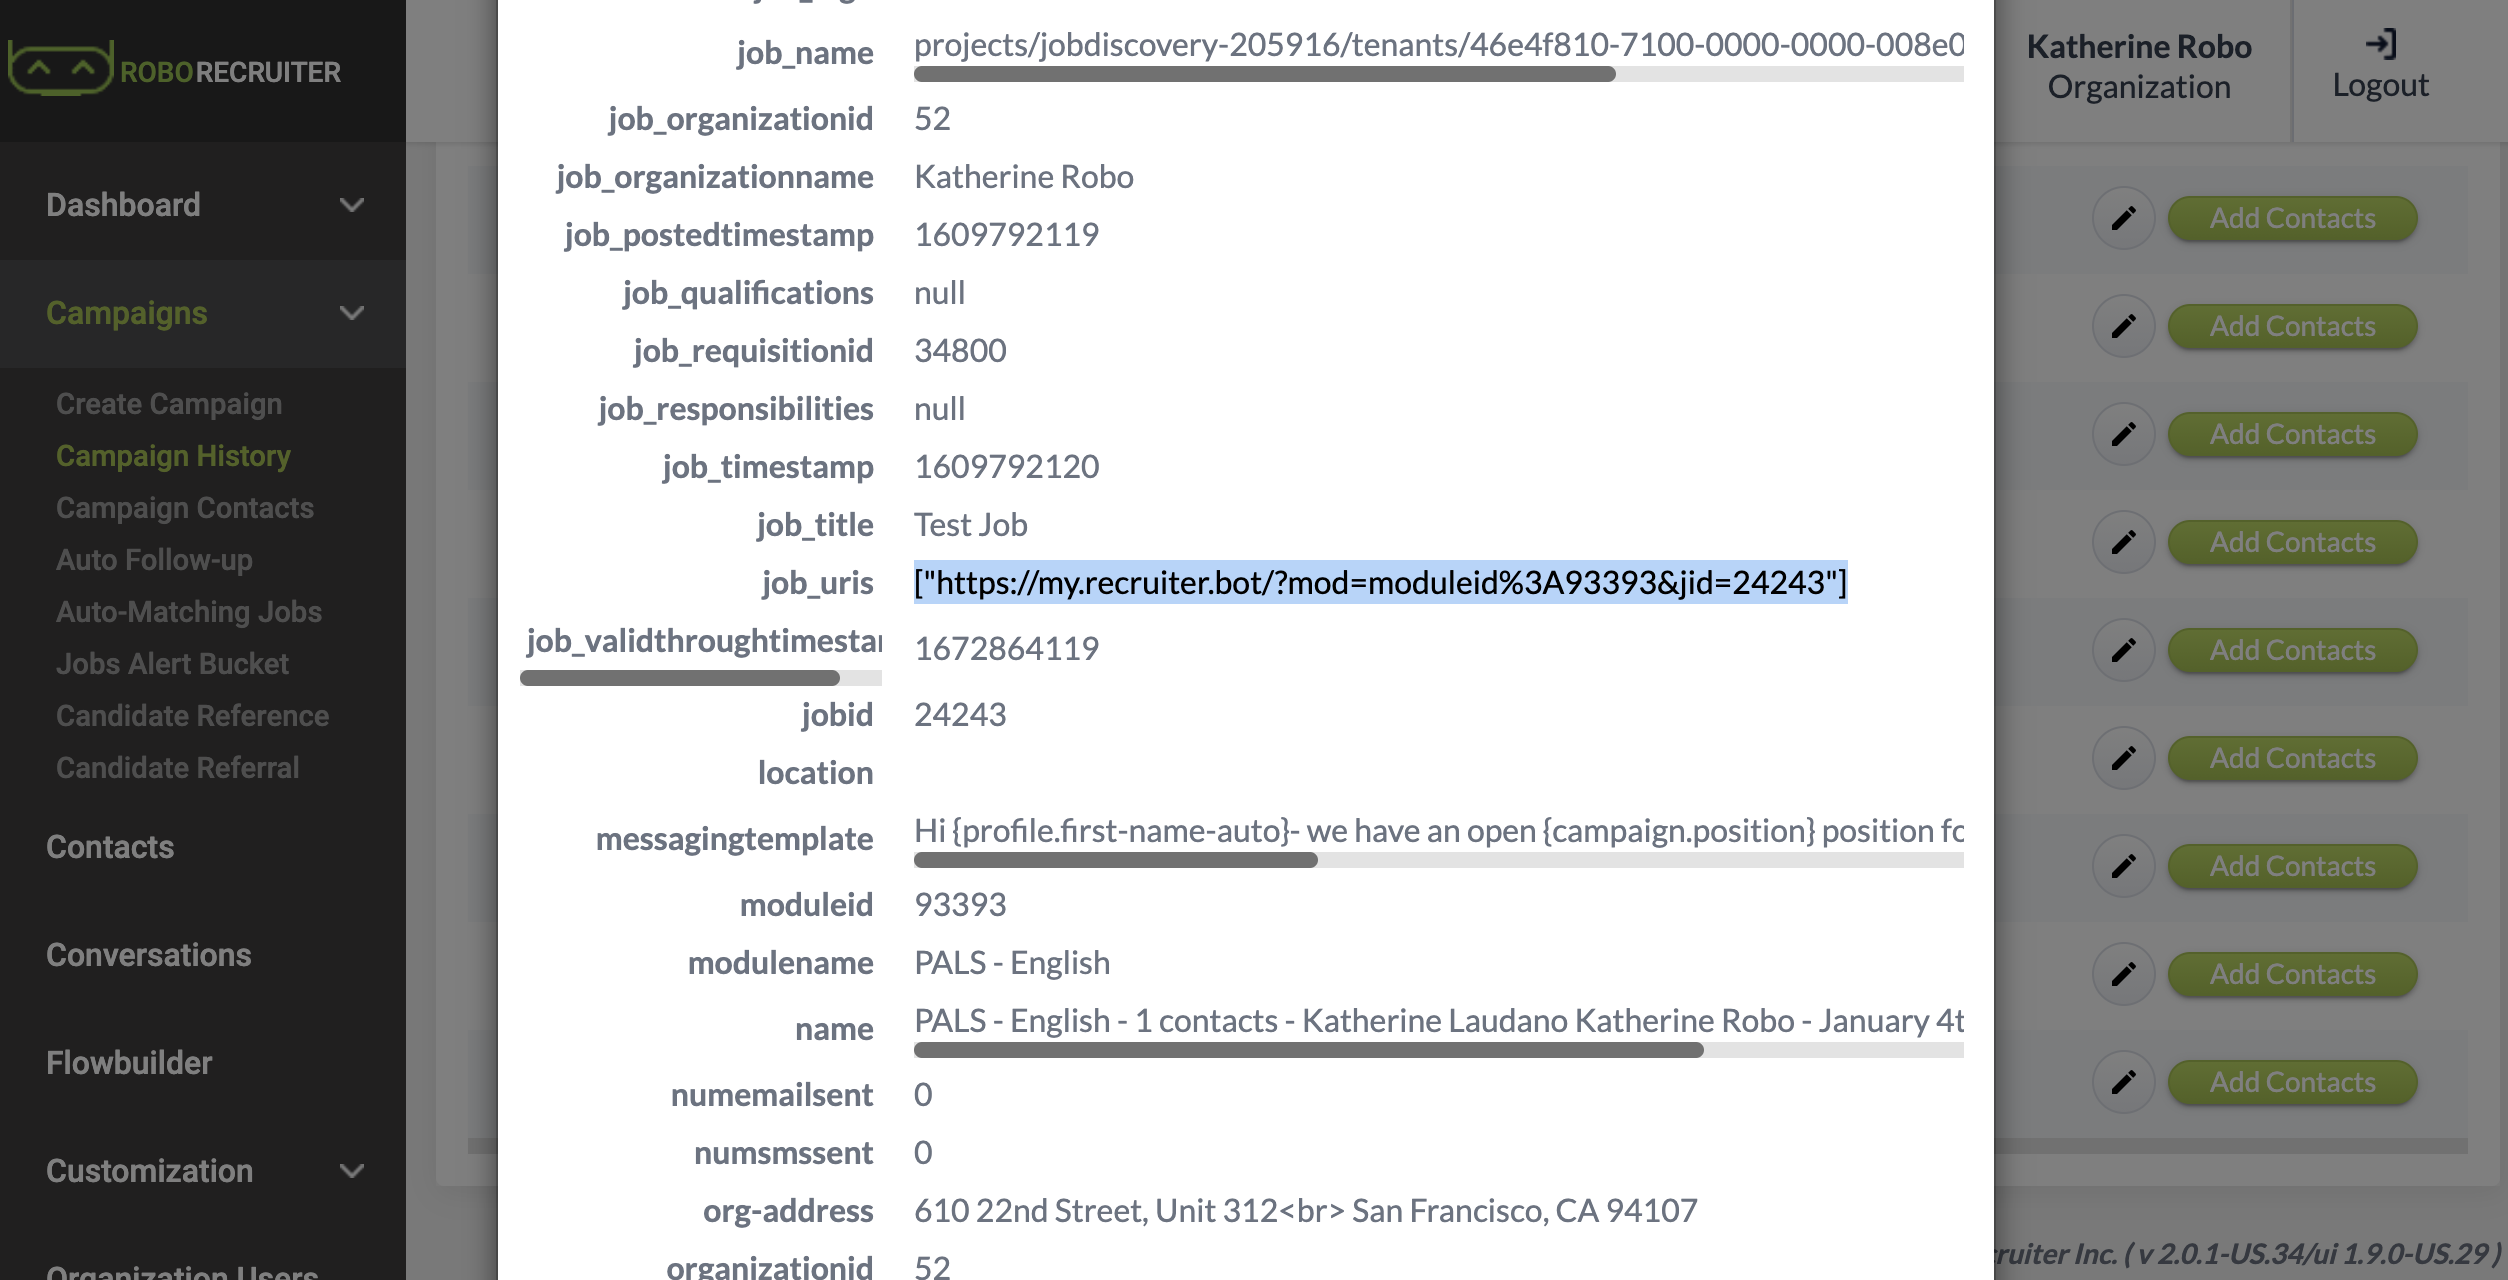
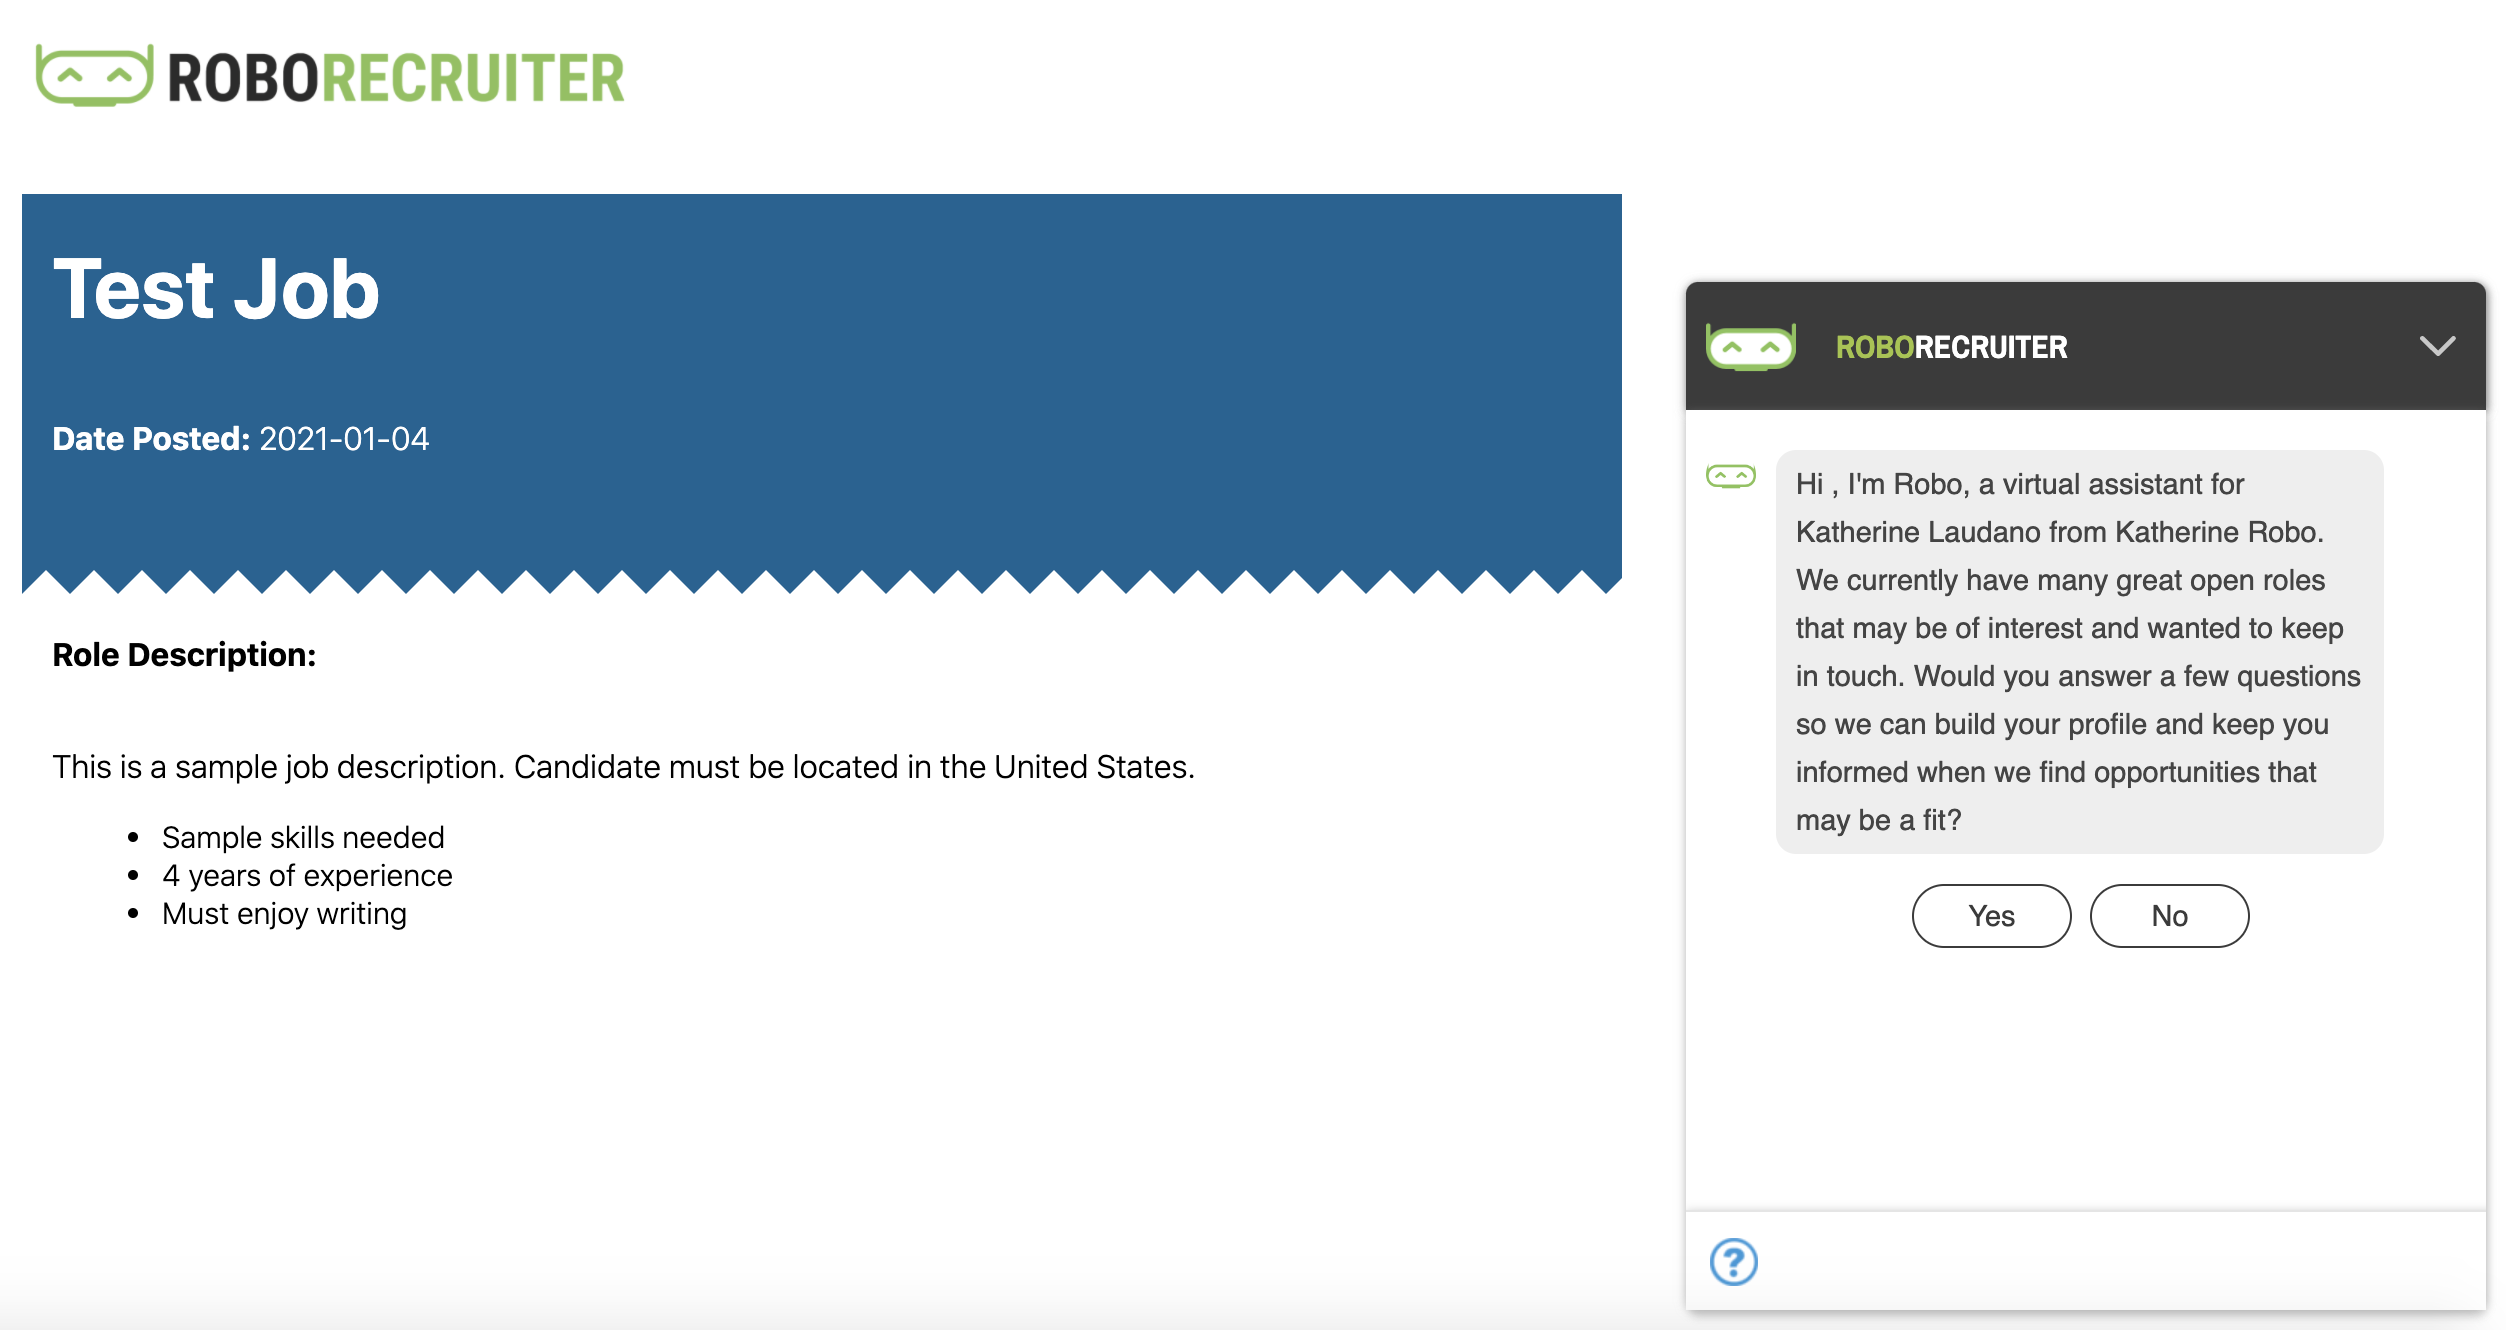
You can now view your custom job page by viewing Campaign History, clicking your latest campaign to find the Job URI and navigating to that page.